How To Set Up And Use Amazon Echo Outside Us
Installing the Alexa App
On iOS
If you are on an iOS device, and you’re not jailbroken, don’t worry. You can follow our article on installing geo-restricted apps on the iPhone, or watch the embedded video.
On Android
If you’re on an Android device, the process is even simpler, and you can follow our article on installing geo-restricted apps on an Android device, or just install the APK file.
Changing the Timezone
Since the Echo is officially only supported in the US, naturally, it only accepts timezones and locations that are inside the US. If you want to use the speaker cum smart home device outside the US, you can use it without changing the timezone, but with the caveat that it will tell incorrect time, and your alarms and reminders will not go off on time, because, timezones. So how do we fix that? This is not as simple as installing the Alexa app, and will require you to fiddle a little bit with the API requests. If it sounds daunting, don’t worry, we’ll take you through it one step at a time. So, let’s get started.
Getting the HTTP Request
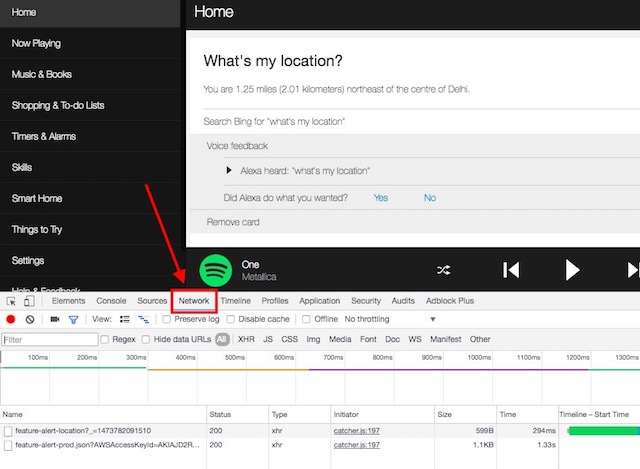
First, launch Chrome, and go to alexa.amazon.com. Then, open Chrome Developer Tools (Command + Option + I on Mac), and navigate to the “Network” tab.
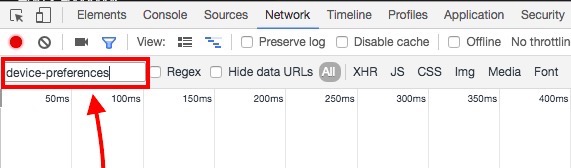
Type “device-preferences” in the Filter for the Network tab. We’re doing this so we only see the HTTP requests that have “device-preferences” in their name, which are the ones we want to look out for.
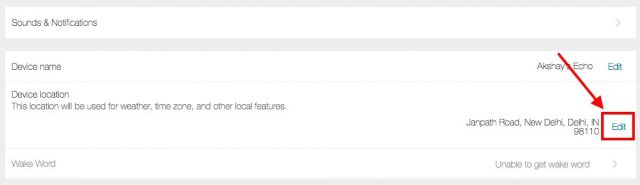
In the Alexa website, go to “Settings”, and click on your Echo. It will be named something like XYZ’s Echo. For me, it’s called “Akshay’s Echo”.
Scroll down, and click on “Edit” next to “Device Location”
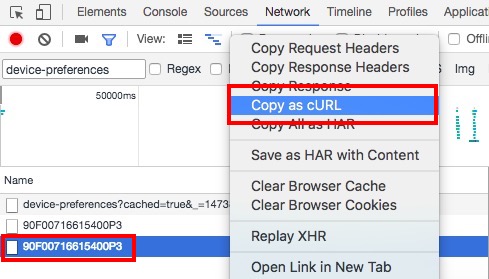
Start typing any US based address here, we used “2201 Westlake Avenue, Suite 200, Seattle, WA 98121”, and then click on “Save”. In the Developer Tools, you will see a couple of entries, select the one on the bottom. Right click on it, and select “Copy as curl“.
Playing around with the Request
First off, paste the copied curl command into an editor such as Sublime Text, or Notepad++. Now, we can start editing it. The first thing you will need to change, is the “timeZoneId”. Search for “timeZoneId” in the text editor where you pasted the curl command, and change that to whatever time zone you are in. For us, it was “Asia/Kolkata”.
Note: You will need to know the Timezone that you are in, you can check out the entire list here.
Now, send the curl command. If you don’t know how to do that, we have covered it in the next section.
Once that is done, change the following fields to reflect your local values: city (“Delhi”, in our example) countryCode (“IN”, in our example) county (null for us, if you have a county, you can put that value here.) district (null, for us) houseNumber (null, for us)
Now, send the curl request again.
Note: You can use “null” values for fields that you don’t have any valid information for.
Once you have done that, change the following fields: Set the first postalCode (there are two of these, only set the first one. 110020 for us). state (“DL” for us) street (null for us)
Now, send the curl request again.
Finally, update the second postalCode, and send that curl command.
Once we have done all that, it’s time to check if the changes worked! On to more exciting things, then.
Sending cURL Commands
cURL on Mac
Sending cURL commands is actually rather easy; at least on a Mac. Macs come with cURL pre-installed. So, if you are using a Mac, simply follow the steps below to send cURL commands:
Copy the cURL request you want to send.
Open Terminal. Paste the request, and hit Enter.
That’s all you need to do to send a cURL request from a Mac.
cURL on Windows
Sending a cURL command from Windows is actually the same as it is on the Mac, except you will have to download and install the cURL utility before you can use it. Once you have done that, you can simply go to the Command Prompt, paste the curl request, and hit Enter.
Checking if the Changes Worked
Try saying “Alexa, what’s the time?“. If Alexa responds with the correct time, then it has accepted your time zone as default. Next, try saying “Alexa, what’s my location?” Alexa will reply with your location in terms of your distance from the center of the city you’re in. It’s not very accurate, but it works.
Countries With Spotify Support
Countries Without Spotify Support
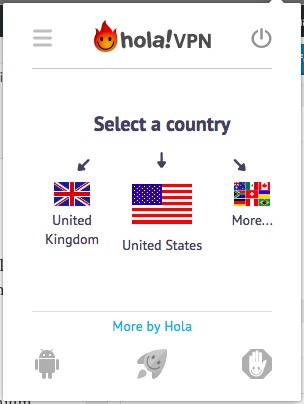
Install a VPN extension on Chrome (choose from various VPN extensions available), and change your country to “United States”.
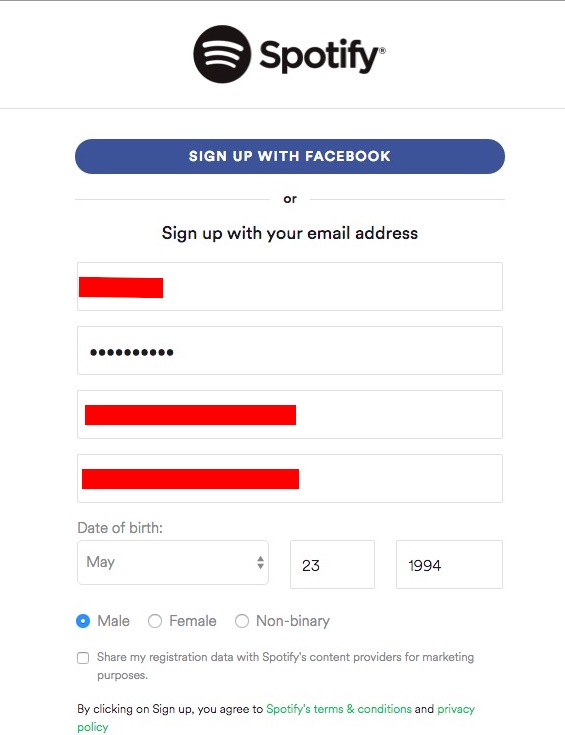
Then, go to Spotify, and click on “Get Spotify Premium”. On the page that follows click on “Start Free Trial”, and fill up your sign up details.
You will then need to provide Spotify with your Credit/Debit card details. This presents another problem, because unless you have a card from a country that is supported by Spotify, they won’t accept it. So, how do we get around this? Turns out, there is an easy fix for this problem.
Entropay: Virtual Debit Cards
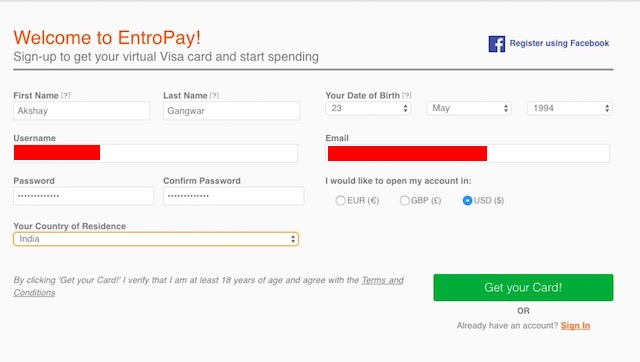
So, we’re having troubles with getting a card that Spotify will accept? Enter “Entropay”. Entropay is a website that provide virtual VISA cards to users, that can be loaded with cash from as low as $5, which is perfect for us.
Simply sign up on Entropay (it’s free!), load some cash into your virtual debit card, and viola! You will have a debit card that works in the US.
Now we can use those details to sign up on Spotify. Spotify offers a 30 day free trial of their premium service, and your card will only be charged after the 30 days of free trial are over. So make sure you have atleast $10 in your Entropay debit card, so that you can continue using Spotify as long as you want.
Getting Spotify Working
Now that you have entered a valid card details into the Spotify website, your account will be activated. On the Alexa app or website, log in with your Spotify credentials, and you’re golden! You can now ask Alexa to play songs from Spotify. Try “Alexa, play Hymn for the Weekend by Coldplay from Spotify” Alexa will tell you that it is playing the song Hymn for the Weekend by Coldplay from Spotify, and will begin streaming the song. Cool, right? You can do this for any song that is available on Spotify. Even better, you can simply ask Alexa to play a playlist for you, and it will happily oblige!
Bonus: Playing iTunes Tracks