How To Set Up Multiple Faces In Face Id On Iphone
Set up Multiple Faces for Face ID in iOS 12
Note: I tried the following method on my iPhone X running iOS 12.0 Beta, and the method worked just fine.
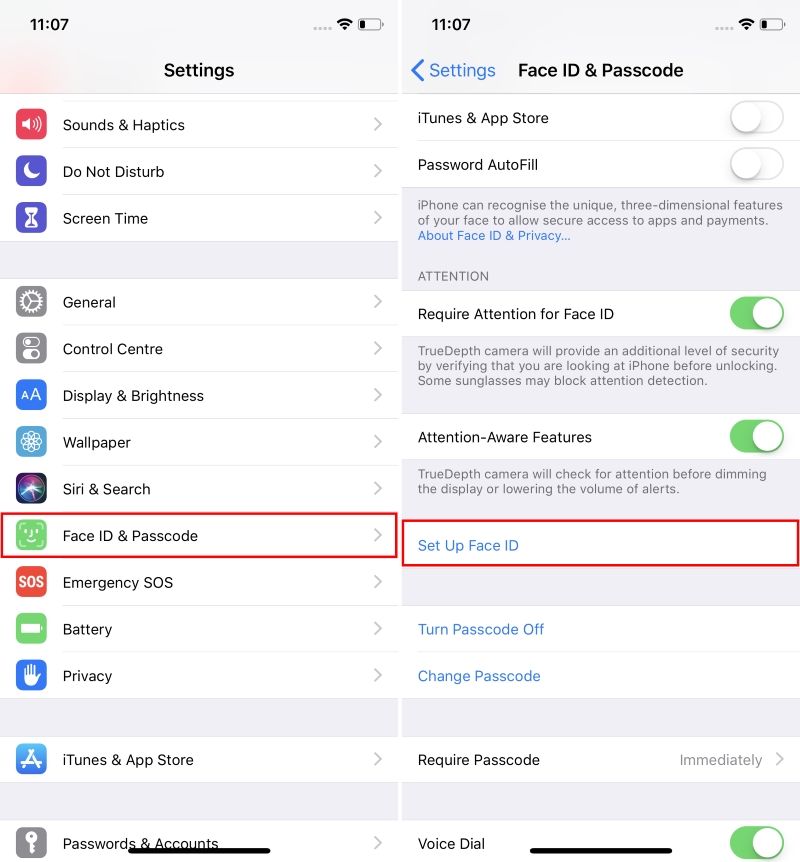
First off, head over to Settings -> Face ID & Passcode -> Set Up Face ID.
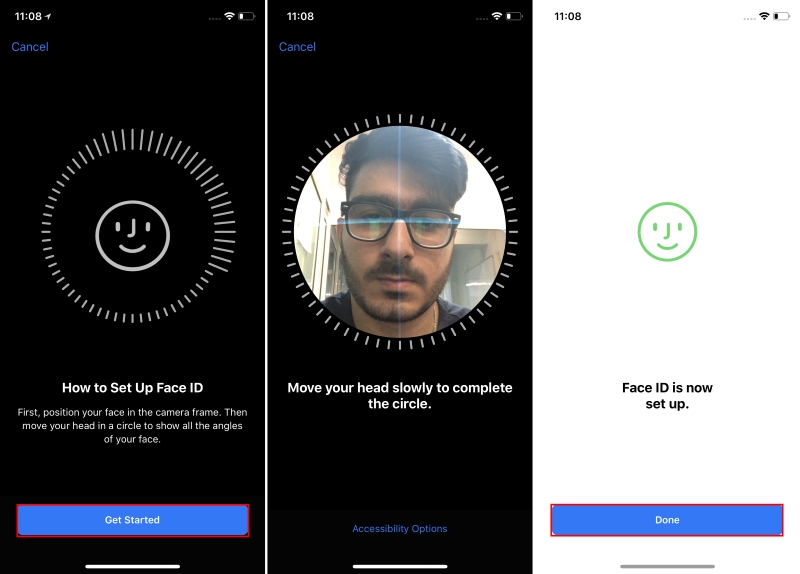
Now, follow the on-screen instructions to set up your first Face ID.
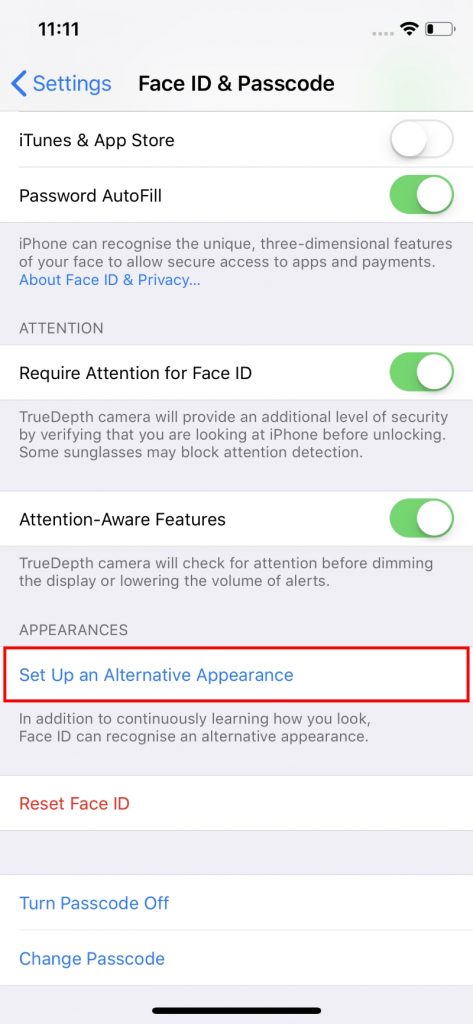
Once you’ve added your first face to the Face ID, you’ll return back to the settings page. Now, let’s add the second the face. Tap on “Set up an Alternative Appearance”.
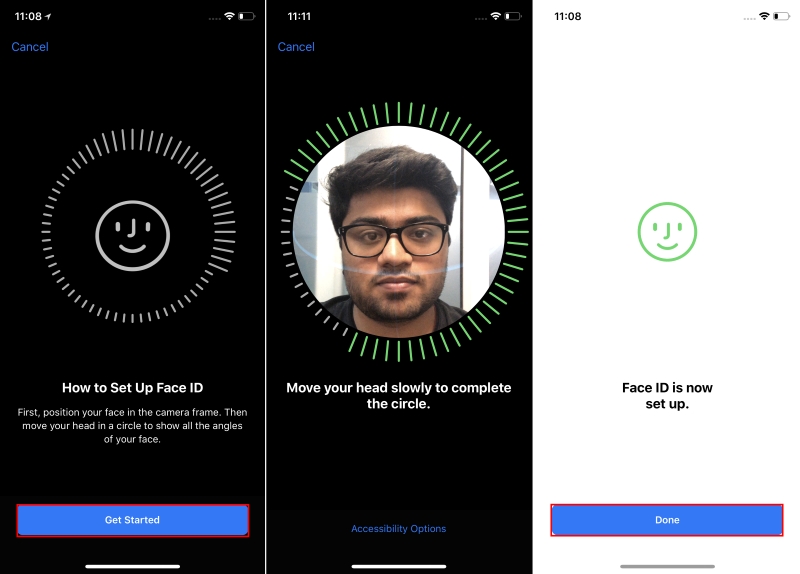
Now, just follow the on-screen instructions to add a second Face to your device.
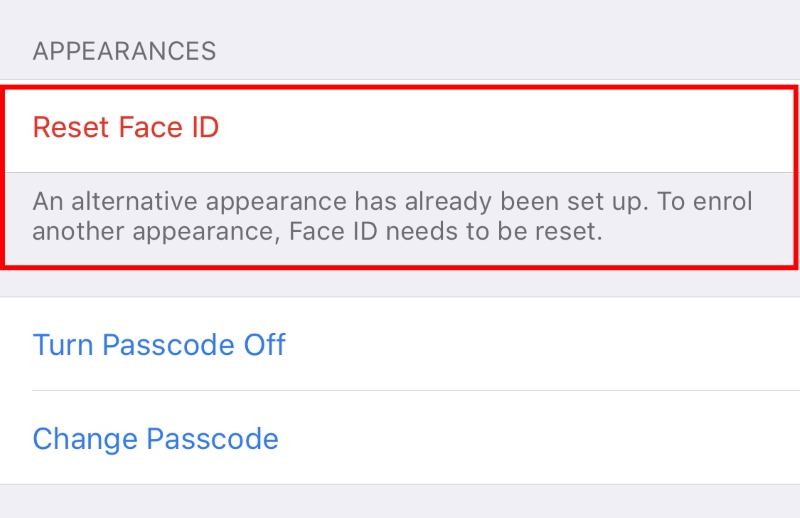
And that’s it. Your second face has been added to your iPhone X’s Face ID. Note: It is worth pointing out that you cannot remove just one of the faces after setting up the Face ID. Instead, the entire Face ID section will have to be reset, that is, both the faces will be removed.
SEE ALSO: How to Install iOS 12 Beta on Your iPhone or iPad
Use Multiple Faces for Face ID
Well, that was pretty much how to add a second face to your iPhone X’s Face ID. While Apple clearly states in the description that the “alternative appearance” is to better enhance the Face ID’s continuous learning process, it also supports adding another face. Whether this is a bug or not remains to be seen. In the meantime, why don’t you try it out on your iPhone X and share with us your experiences in the comments below.